Adding Products to the Site
1. Adding Product
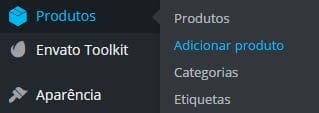
1.1 With the admin area already open, go to Products > Add product.
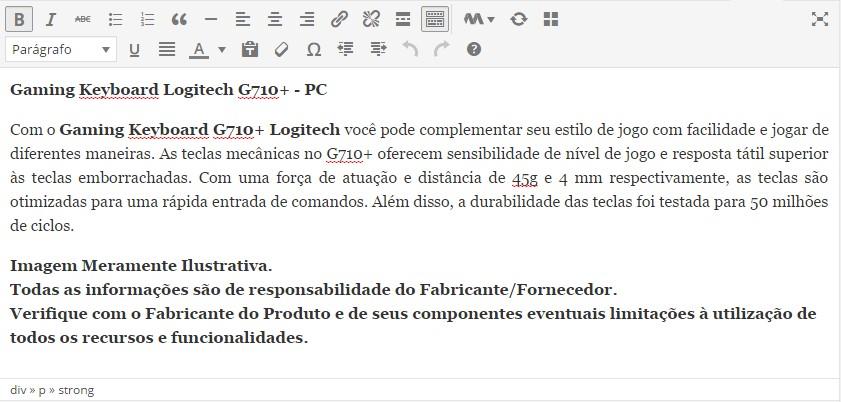
1.2 First add the title of the product.
![]()
1.3 Right below, in the text field, add product information.
1.4 If your product catalog has a price, go to “Product Data“, enter the value in “Price (R$)“.

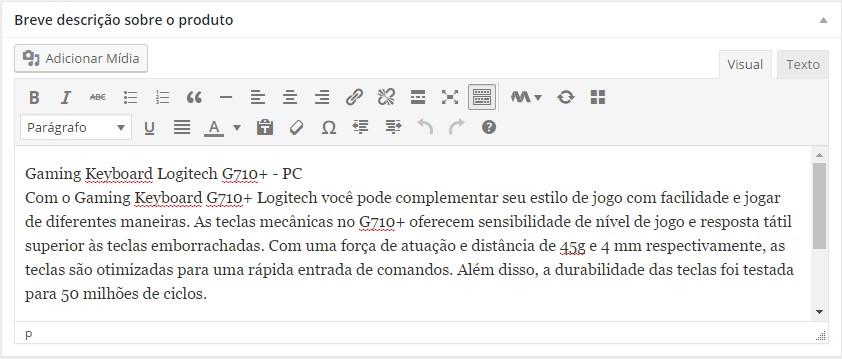
1.5 Add a Brief description about the product.
2. Product Categories
2.1 To select the product category, use the sidebar on the right, under Product Categories, Check the category related to the product. If it has a subcategory, you must also check it.
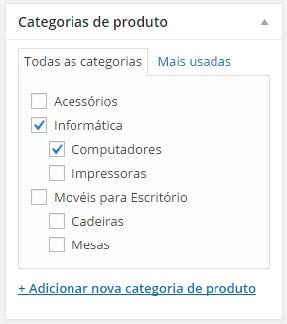
2.2 If you want to add more categories and/or subcategories, just enter + Add new product category.
3. Featured Image
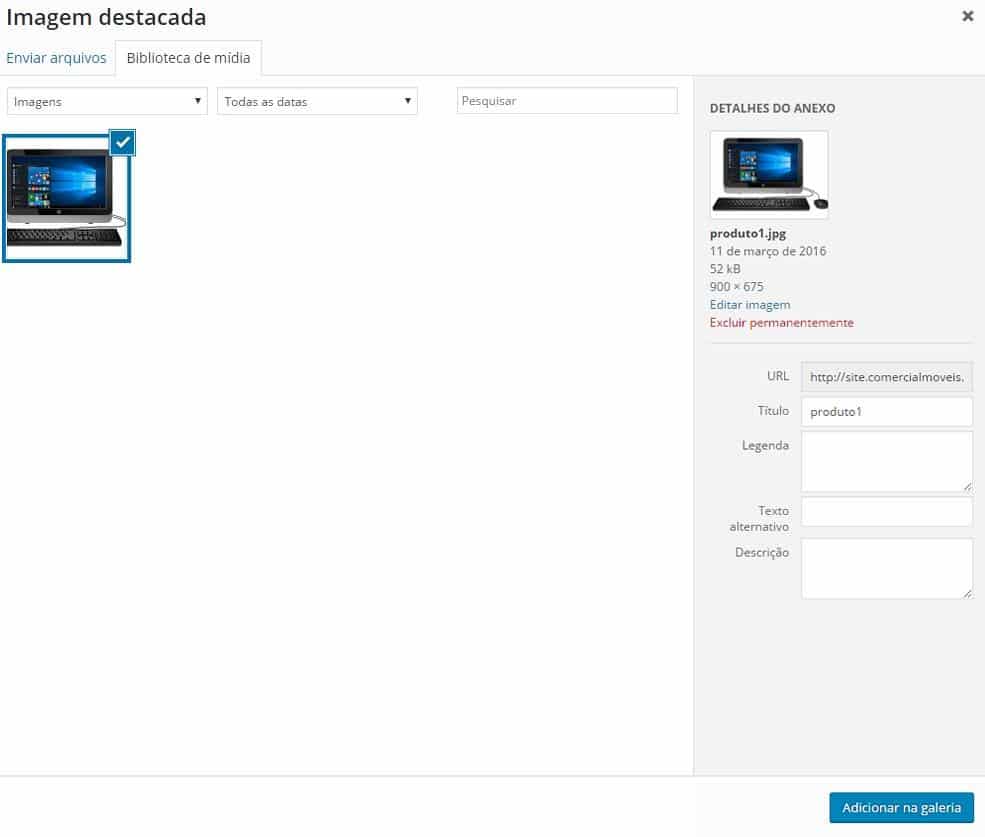
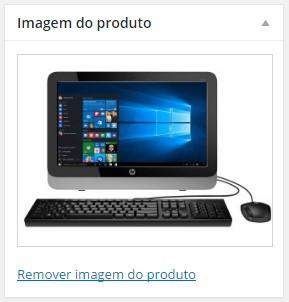
3.1 To insert the main product image, in the sidebar, under Product Image, select Set Product Image.
3.2 On the screen that will open, drag and drop or click the Select Files button to load the desired image(s).

3.3. once the image is uploaded, click Add to gallery.
It will look like this:
4. Product Gallery
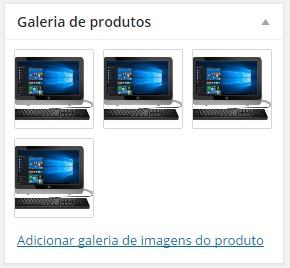
4.1 To add image gallery, also in the sidebar, under Product Gallery, select Add Product Image Gallery.
4.2 In the window that will open, go to the Upload files tab and select the images you want and after they are uploaded click Add to gallery (similar to steps 3.1. and 3.2.) It will look like this:
5. Publishing the Products
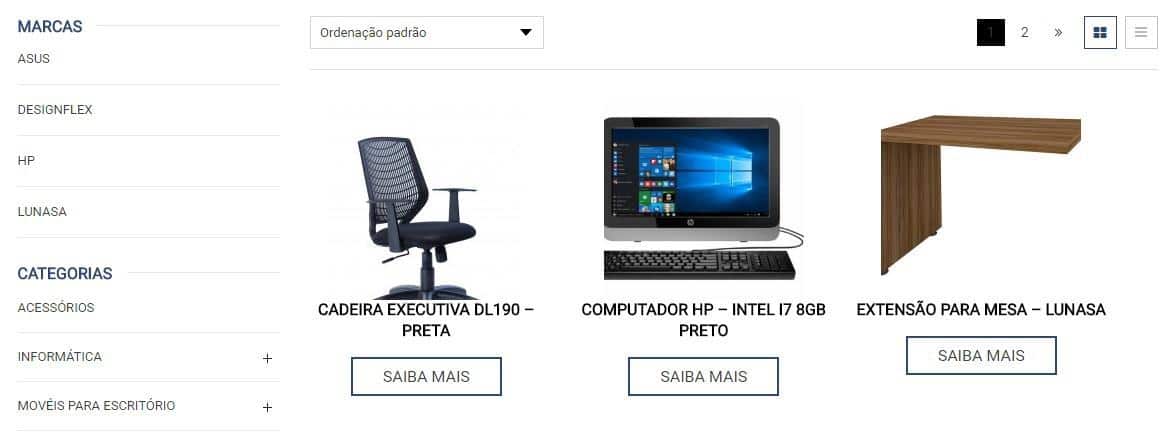
5.1 To finish, click Publish. That’s it! Your product is already on your website!
6. Deleting Product
6.1 To delete any product, first go to Products > Products.

6.2 You will open your product list.

6.3 Hover the mouse over the name of the product you want to delete, so the options will appear: Edit | Quick Edit |Trash | View | Duplicate

7.4 To delete, click Trash.
