1. Accessing the Galleries
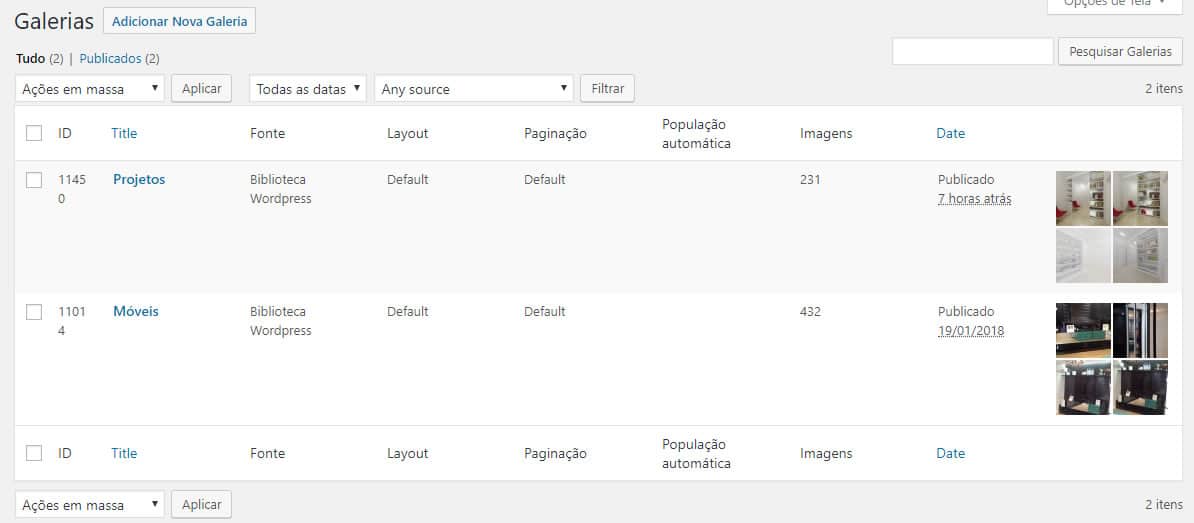
1.1 With the admin area already open, go to Image Gallery > Image Gallery.

1.2 Existing galleries will be listed.
2. Editing the Gallery
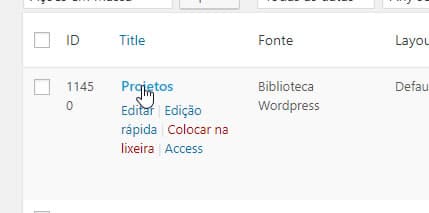
2.1 Click on the gallery title to edit it.
2.2 Now to add the images, go to Specific Settings, click on Manage Images.

2.3 On the screen that will open, click the Upload Files tab, then drag and drop or click the Select Files button to upload the desired image(s).

2.4 Wait for it to send and then click on the X or outside the window to exit and return to editing the gallery.
2.5 Under Specific Settings, select the images you want, when selected the images will have red borders (those with green borders are already in the gallery), and click Add to Gallery.

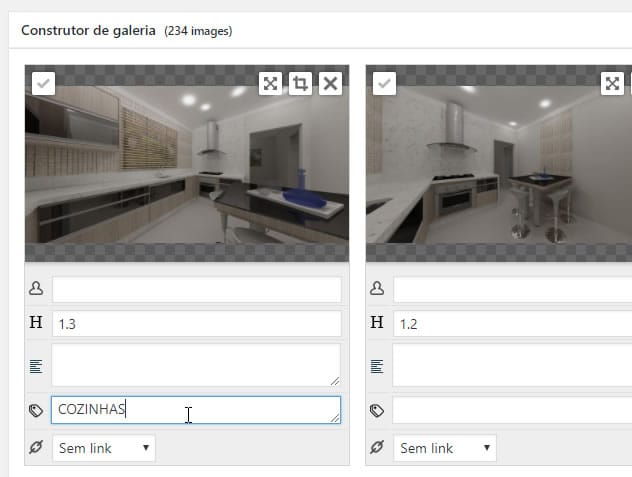
2.6 Below in the Gallery Builder, in the ![]() field is where you should enter which category the image refers to.
field is where you should enter which category the image refers to.
2.7 To refresh the gallery, in the sidebar on the right, click Update.
3. Removing the Image from the Gallery
3.1 First, access the desired gallery, and then in the Gallery Builder,
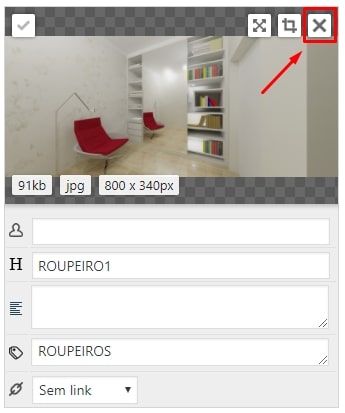
3.2 To remove images one by one, click the X:
3.3 To remove several at once, click on the ✓ of the images you wish to remove:
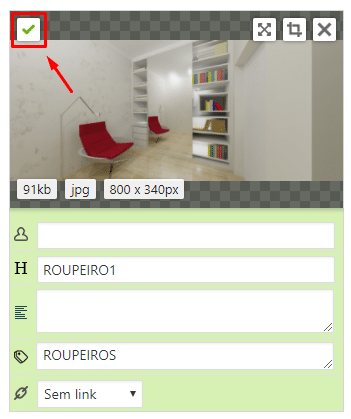
After that the following options will appear at the beginning of the Gallery Builder:

Select Remove images and click Apply to remove them.
