1. Creating the Gallery
1.1 With the admin area already open, go to Image Gallery > Add New Gallery.
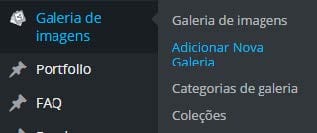
1.2 Enter the gallery title.
1.3 Now to add the images, go to Specific Settings, click on Manage Images.

1.4 On the screen that will open, drag and drop or click the Select Files button to load the desired image(s).

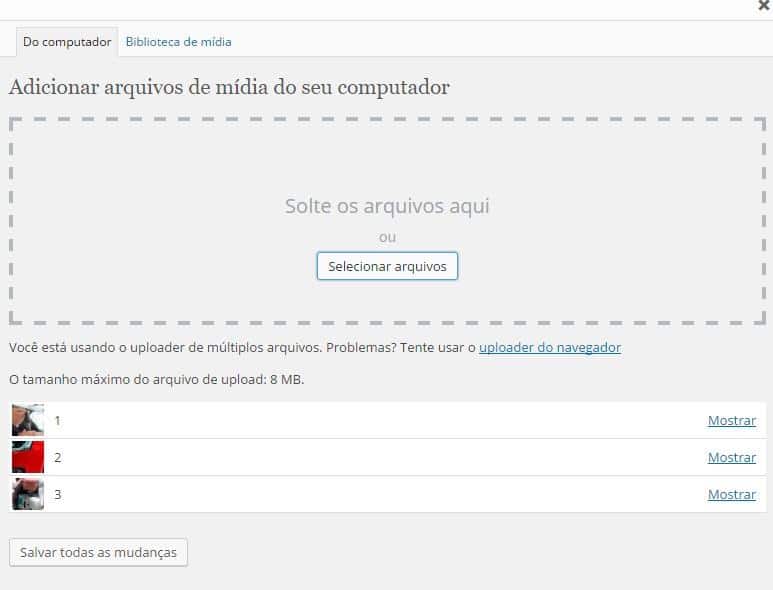
1.5 Then click outside the window to exit.
1.6 Select the desired images and click Add to Gallery.

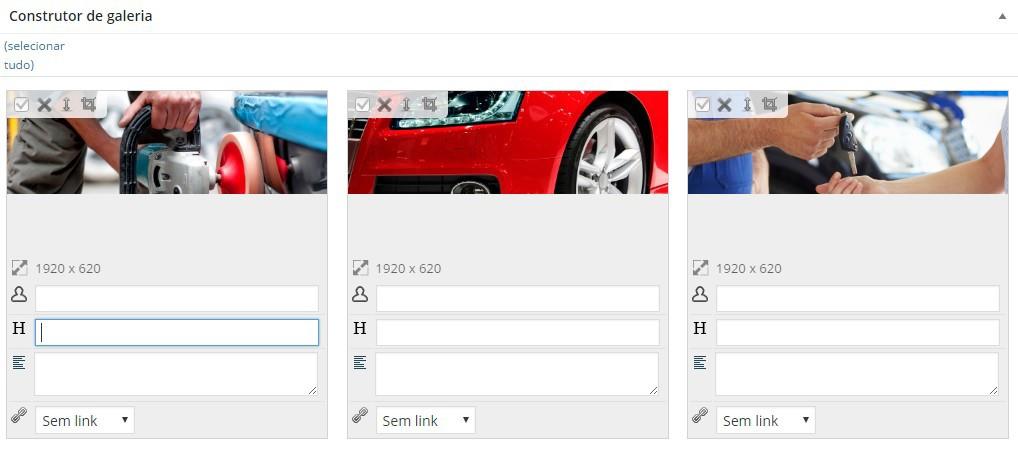
1.7 Below in the Gallery Builder, in the “H” field you can change the title of the image or leave it blank.
1.8 To add the gallery, in the sidebar on the right, click Publish.
2. Adding gallery to collection
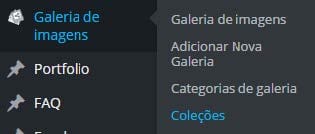
2.1 For your galleries to automatically appear on a page, you need to add it to a collection, to do this go to Image gallery > Collections.
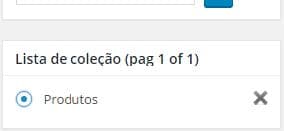
2.2 In the sidebar on the right of the page, under Collection list, check the desired collection.
2.3 Once the Add Gallery Collection option appears, leave Gallery Categories as “All”, and under Select a Gallery, check the desired gallery and click Add.

2.4 The gallery should appear below in Collection Builder.

2.5 To finish, click Save the collection. That’s it! Your galleries will be published!

