1. Accessing the Post Area
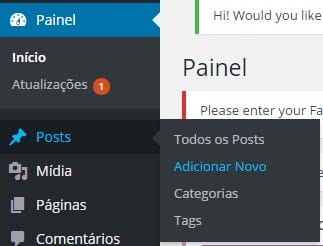
1.1 With the admin area already open, go to Posts > Add New.
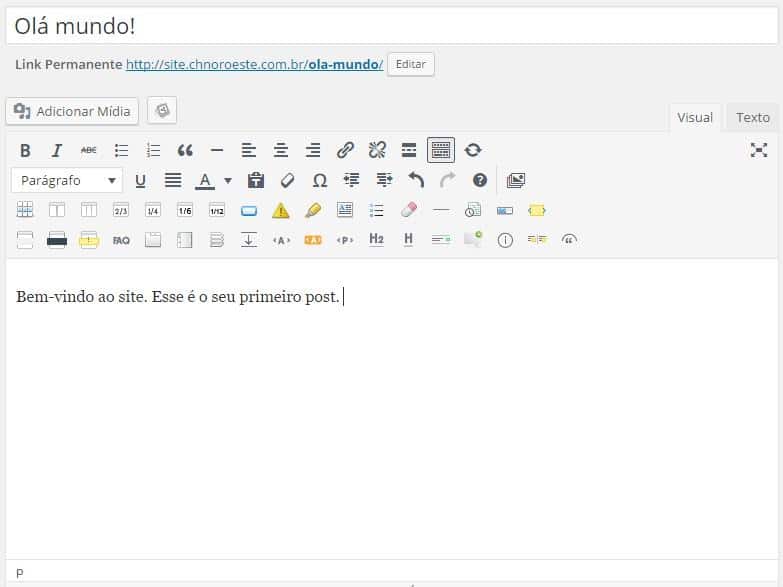
1.2 On the following screen, you enter the title and right below it the content of the post.
2. Inserting Images
2.1 To insert image into your post, click on the desired content area, and just below the title, go to Add Media.
![]()
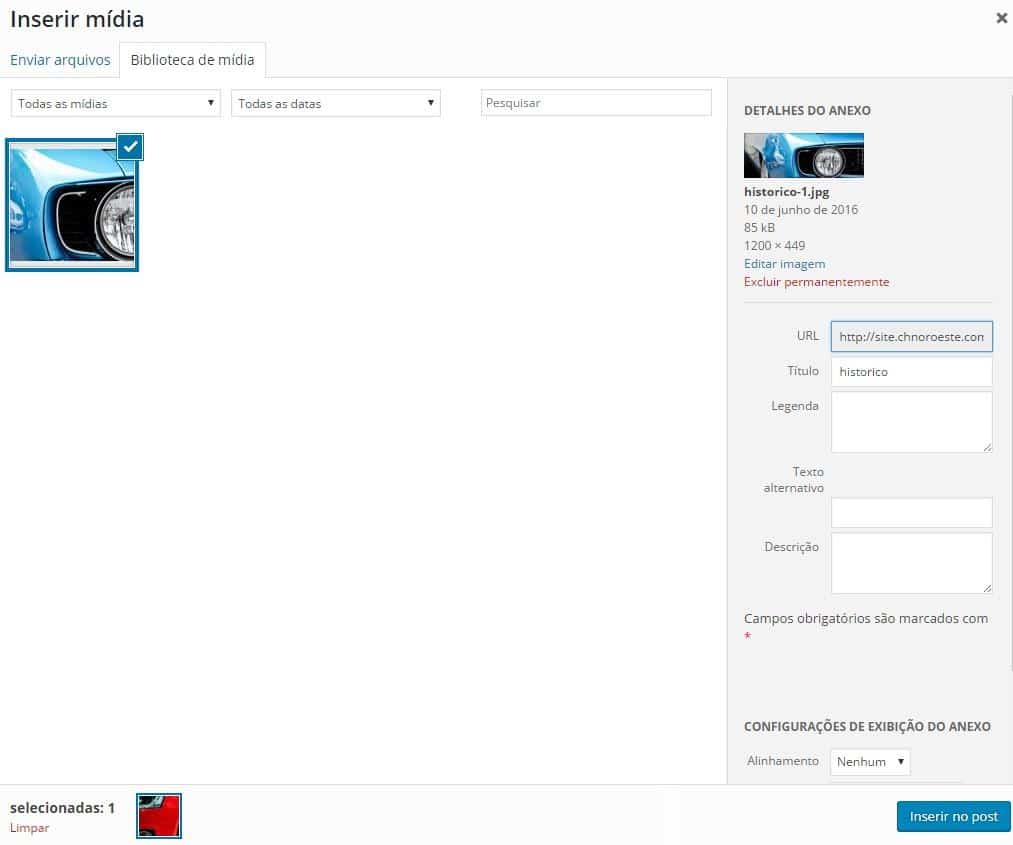
2.2 On the screen that will open, drag and drop or click the Select Files button to upload the desired image(s).

2.3 Once the image(s) are uploaded, click Insert into post.
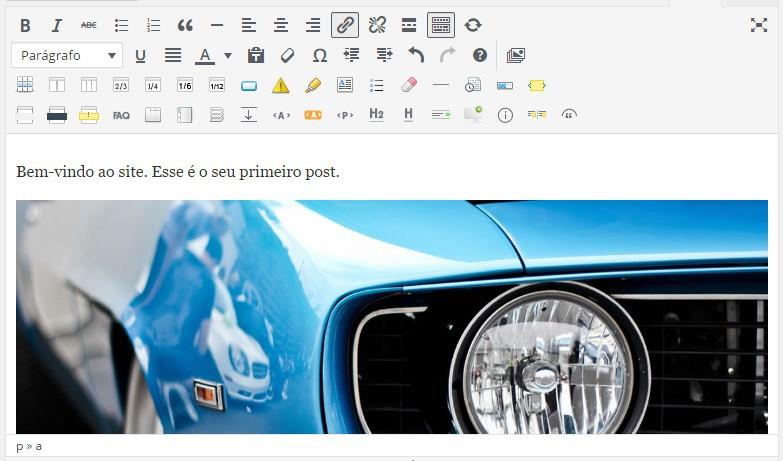
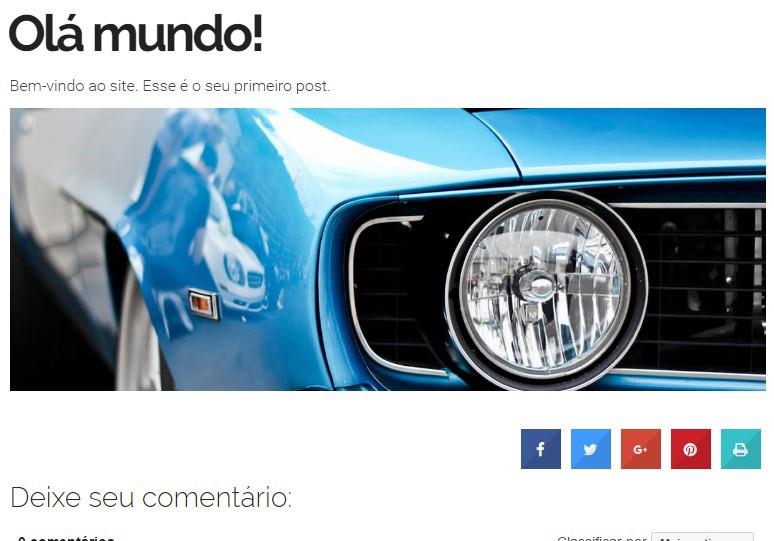
2.4 Now, your post will already feature an image.
3. Tags
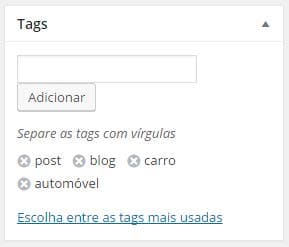
Tags are terms used for better positioning of your post in search engines (Google, Bing, Yahoo, etc).
3.1 To add them, go to the sidebar, which is to the right of your post content, under Tags, and enter the desired keywords separated by comma and select Add.

4. Featured Image
4.1 To set the featured image for your post, also use the sidebar, under Highlighted Image, click Set Featured Image and follow steps 2.2. and 2.3 again.
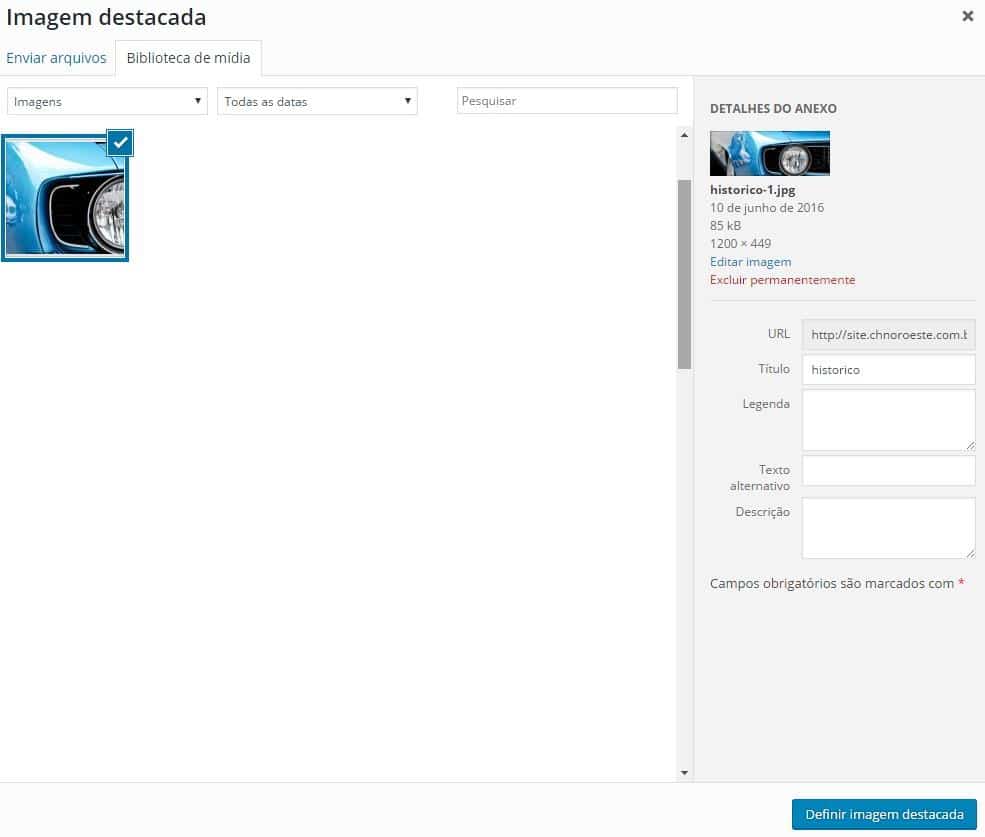
4.2 You can also use the same image you used in the post content. Click on Define image detail image, in the window that will open, select the Media Library tab, mark the image and add it by clicking the Define featured image button.
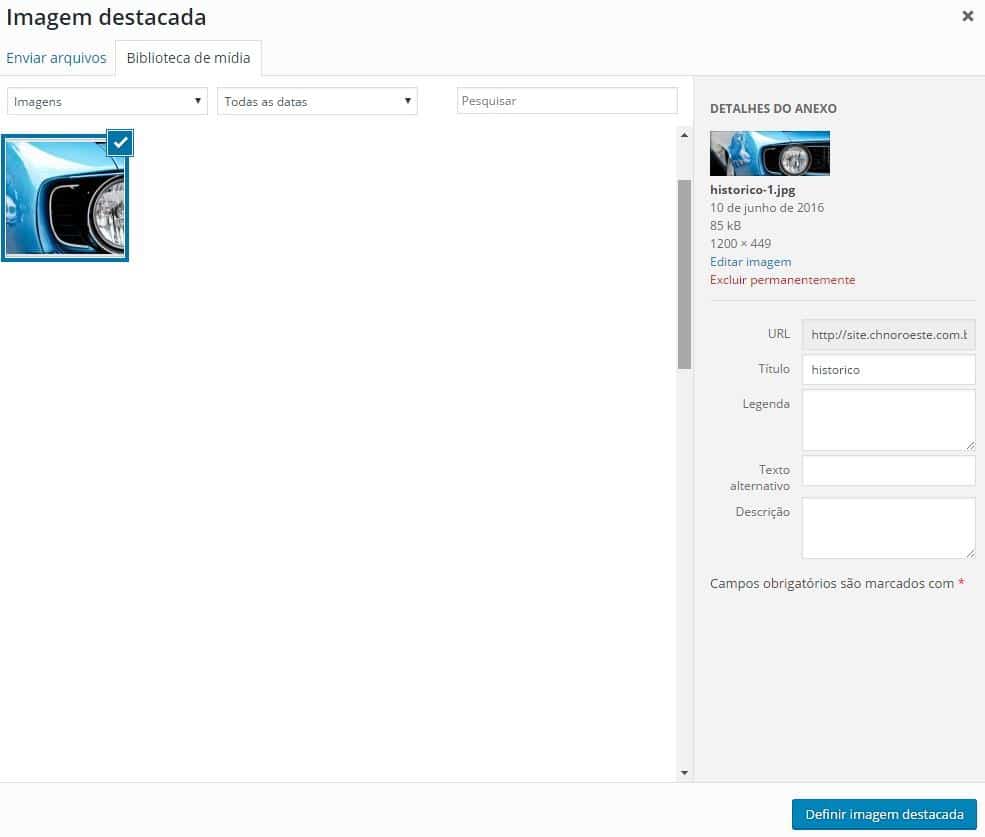
4.3 Looking like this:
5. Publishing the post
5.1 To finish, let’s make the post appear, to do so, using the sidebar again, click Publish.

That’s it! Your post is already on your site!
6. Deleting the post
6.1 To delete any post, first go to Posts > All Posts.

6.2 It will open your list of all posts.

6.3 Hover the mouse over the name of the post you want to delete, so the options will appear: Edit | Quick Edit | Trash | View | Duplicate

6.4 To delete, click Trash.
