1. Downloading Fotosizer:
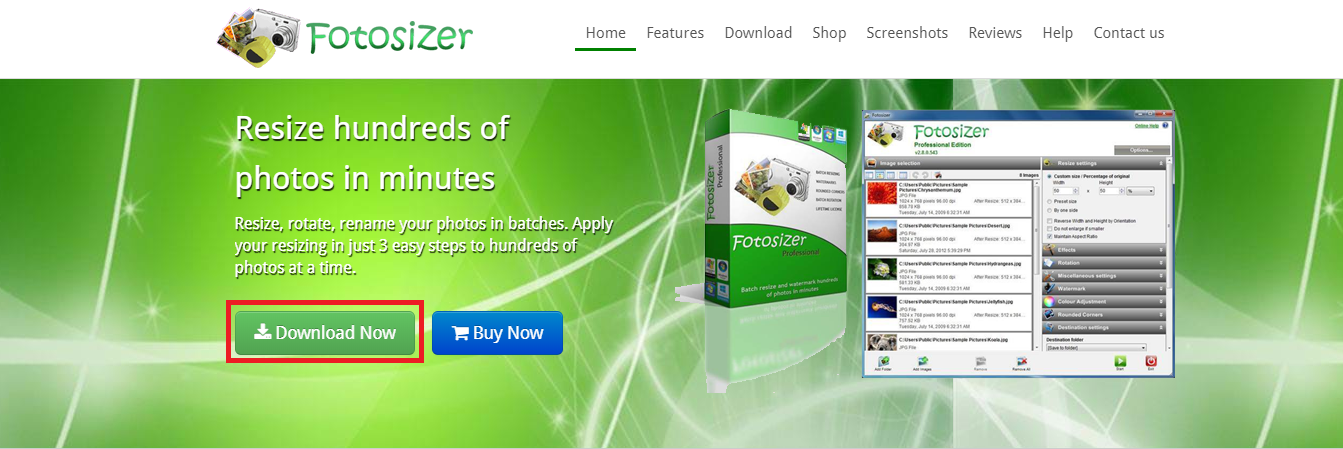
1.1. Enter the Fotosizer website, and click “Download Now”

2. Sending images to Fotosizer:
2.1. After installing, drag the image(s) or hit the “Drag and drop the files here” button to send the images

Note: Back up the images before starting any optimization, as the process is irreversible.
3. Setting the image size:
What image size to use in my online store or online catalog?
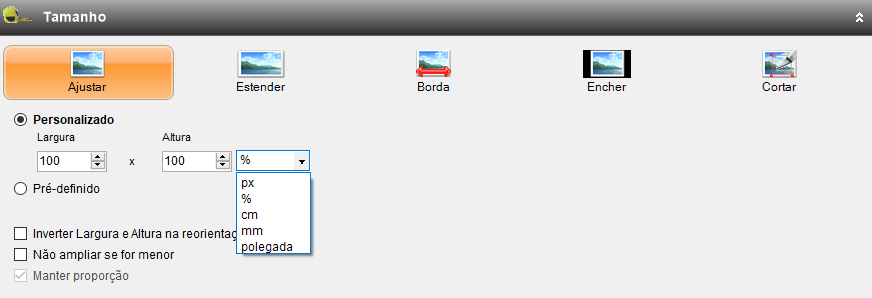
3.1 In the “Size” tab, you will set the size of your image, choose one of the options:Custom or Preset
- In the “Custom” option set the width and height of the image, with the following desired measurements: px, %, cm, mm, inch.

3.2. in the “Default” option select the desired resolution

4. Optimizations:
4.1. On the “Miscellaneous” tab, you will have some settings to optimize your image
- Select the “Change quality to” option: We recommend using 92%.
- Select the “Change DPI for printing” option: We recommend using 89.
- Select the “Apply optimization for PNG images” option.

5. Destination location:
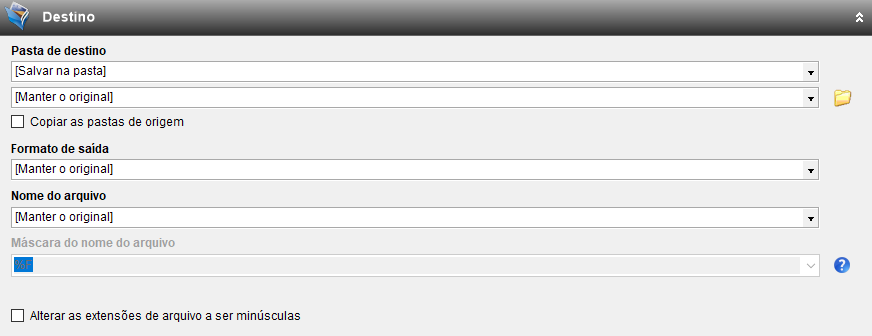
5.1. On the “Destination” tab, choose the destination location to save your image(s)
- Destination folder:Select [Save to folder].
- Output format:Select [Keep original].
- File name: Select [Keep original].

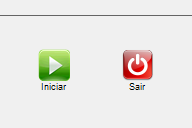
5.2. in the bottom right corner of the program, hit “Start” to optimize and save the image.

